-
Check that IMAP is turned on
- On your computer, open Gmail.
- In the top right, click Settings
 > See all settings.
 - Click the Forwarding and POP/IMAP tab.
- In the “IMAP access” section, select Enable IMAP.
- Click Save Changes.
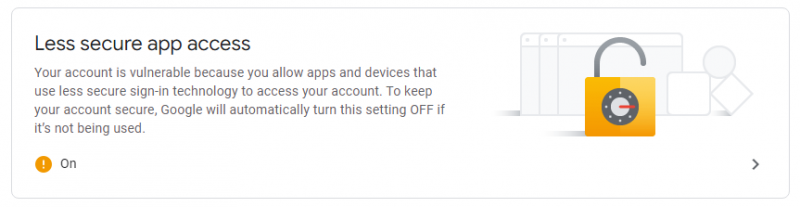
- Visit https://myaccount.google.com/security-> Less secure app access
Set “Allow less secure apps:” to ON
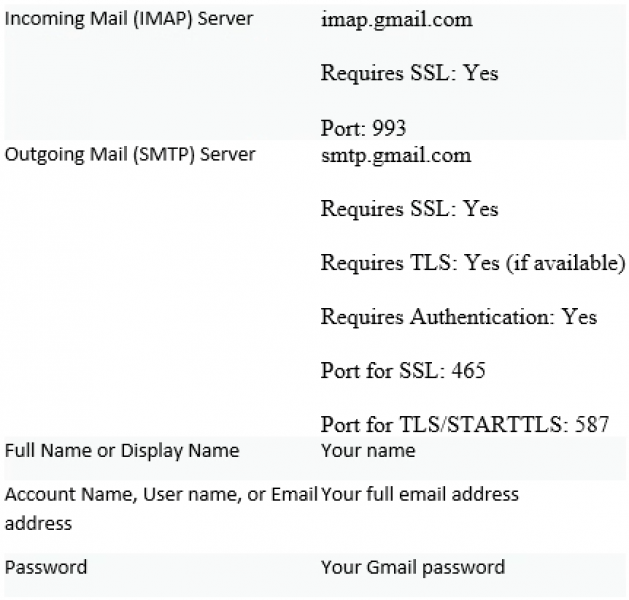
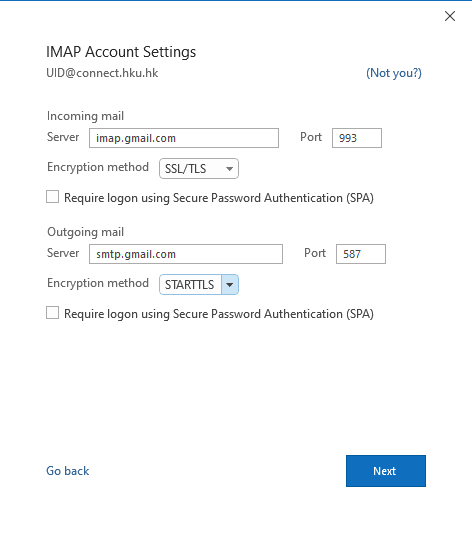
- Change SMTP & other settings in your email client (Reference Information Only)
Use the table below to update your client with the correct information. For help updating your settings, search your email client’s Help Center for instructions on setting up IMAP.
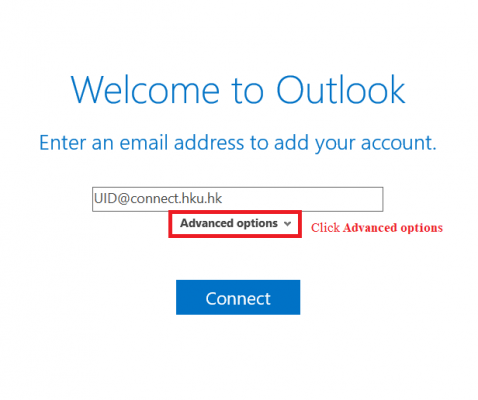
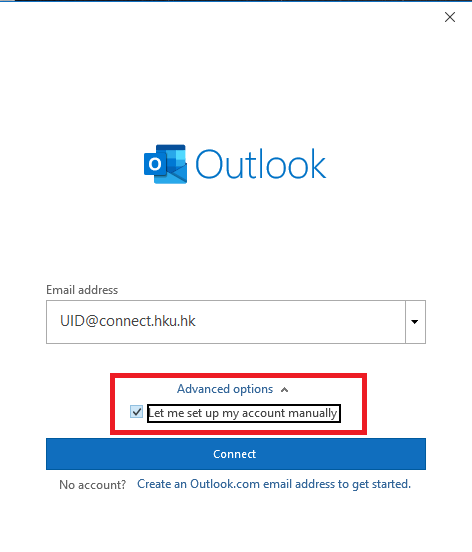
- Enter your email address and click Let me set up my account manually
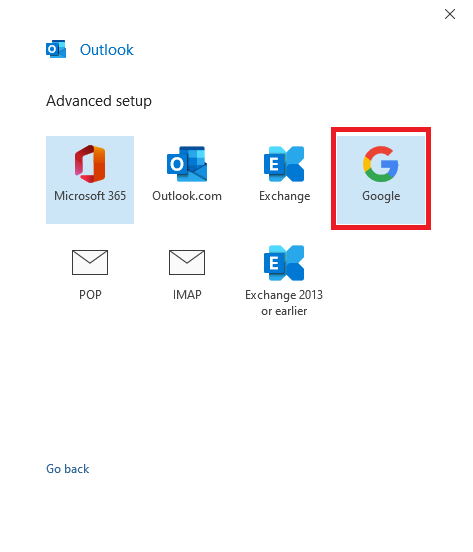
- Select Google
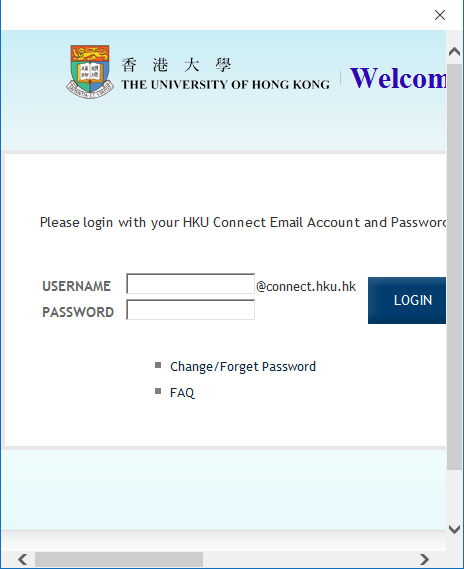
- The Google account permissions window appears. Click Allow.
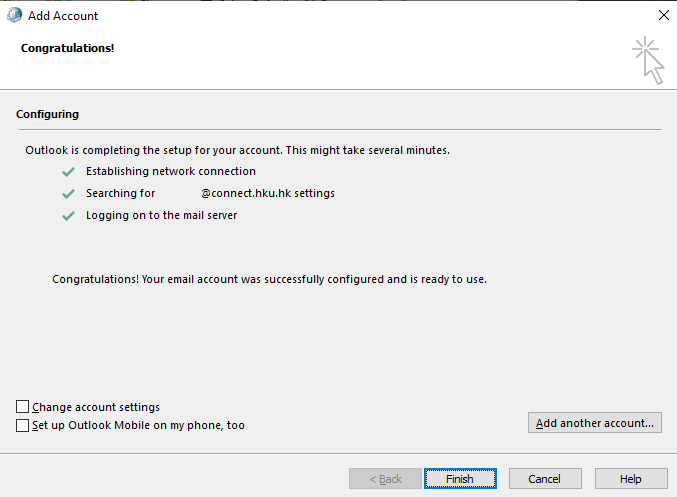
- Once Outlook finishes adding your Gmail account, you can add another email account or select Done.
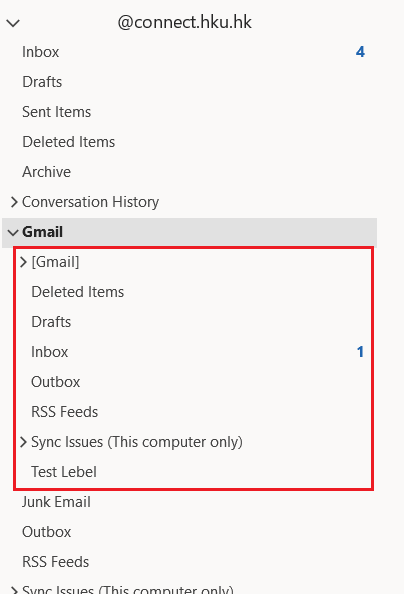
- Outlook will take hours to synchronize all mails to local computer. Please keep it online and wait until the Send/Receive status complete, before proceed the next step.
Important: Once you connect your Gmail account to Outlook, you may receive a warning message in your Gmail inbox telling you that a new logon from web browser was detected. This is expected behavior.


![]()
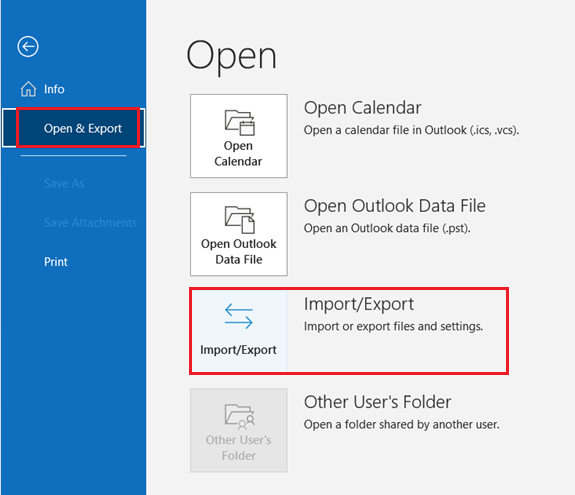
- Select File > Open & Export > Import/Export.

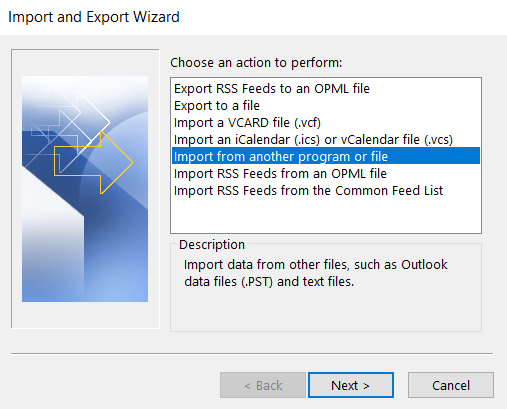
- Select Export to a file > Next.
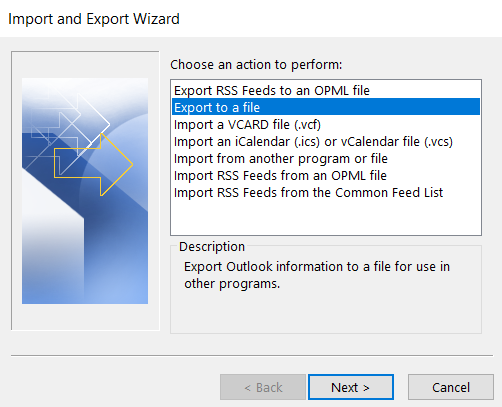
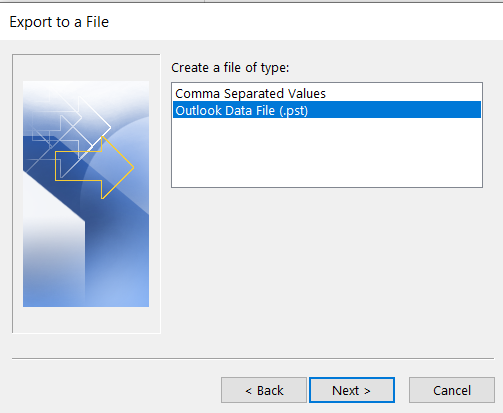
- Select Outlook Data File (.pst) > Next.

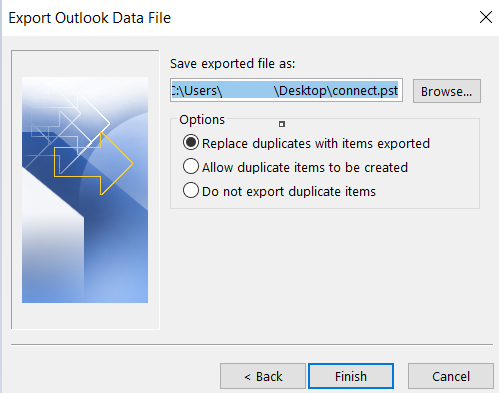
- Select the email account (@connect.hku.hk using Gmail) > Next.

- Choose the preferred file destination > Finish.
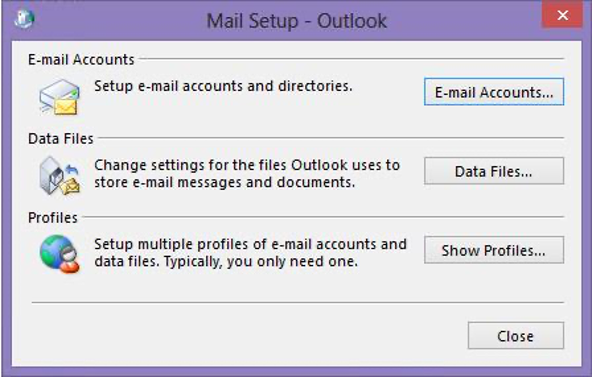
- Open “Control Panel” -> “User Accounts and Family Safety” -> “Mail (Microsoft Outlook)
- Click E-mail Accounts
- Click New
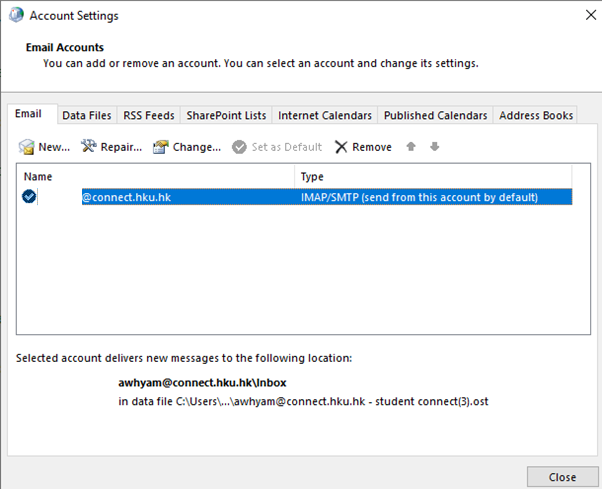
- Type Your Name, Email address and Password and then click Next.

- Click Finish.
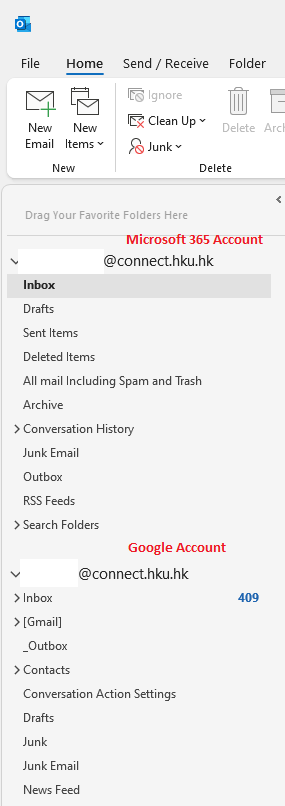
- Open the MS outlook Client. The outlook show the google account and Microsoft 365 account.
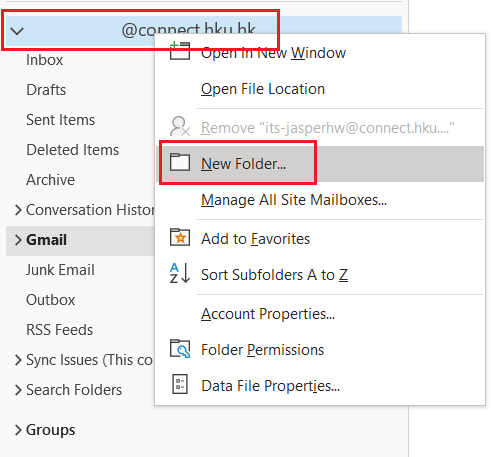
- Create a new Folder to import the emails from Gmail account.
- Right click the M365 account > New Folder.
- Add a name for the folder.

- Select the newly created folder.
- Select File > Open & Export > Import/Export.
- Select Import from another program of file > Next.
- Select Outlook Data File (.pst) > Next.
- Choose the location of the imported .pst file (Step 2-5 above refers) and click Finish.
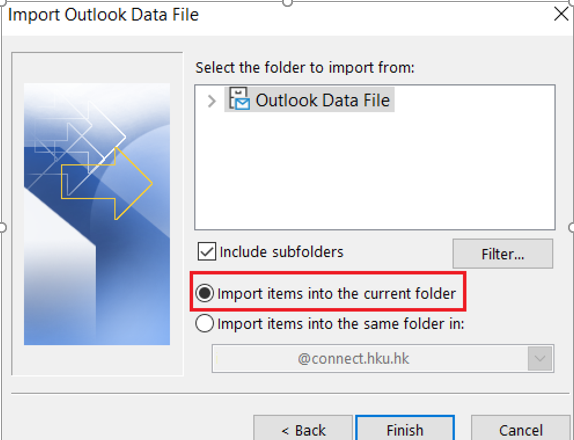
- Select Import items into the current folder > Finish.
- All emails from your Gmail account will be imported under the destined folder of your M365 account.


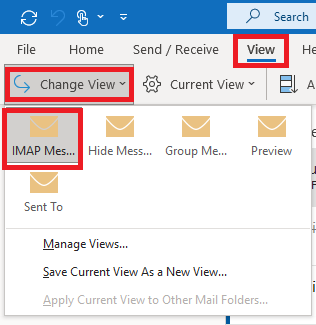
View -> Change View -> IMAP Messages