Step 1: Create a Resource list app
Note: To create an app, you must have at least the permissions obtained by being added to the default <Site Name> Members SharePoint group for the site.
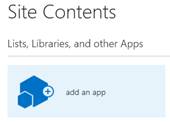
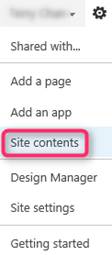
- Go to the Site Contents.
- Click on “add an app”.
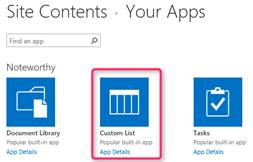
- Click on “Custom List”.
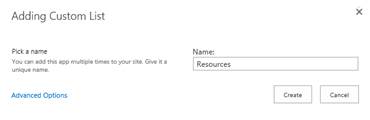
- Enter the Name Resources.
- Click “Create”.
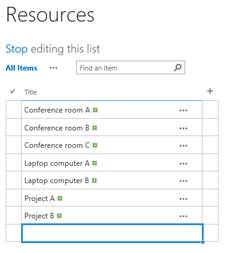
Step 2: Add resources to the list
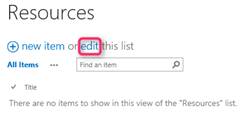
- Go to the “Resources” list.
- Click on “edit this list”.
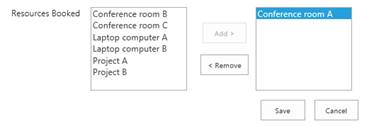
- Enter the Resources
· Conference room A
· Conference room B
· Conference room C
· Laptop computer A
· Laptop computer B
· Project A
· Project B

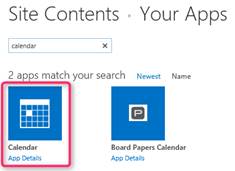
Step 3: Create a new calendar app
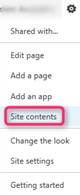
- Go to “Site Contents”.
- Click on “add an app”.
- Search the app Calendar.
- Click on the Calendar app. Please do not select the Board Papers Calendar.
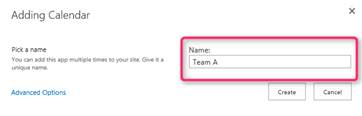
- Enter the Name.
- Click “Create”.
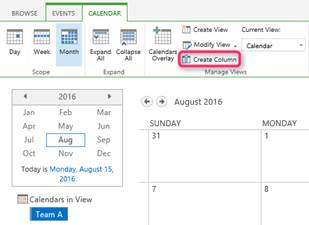
Step 4: Create a “Resources Booked” column in the new calendar
- Go to the new calendar.
- Open the “Calendar” tab.
- Click “Create Column”.
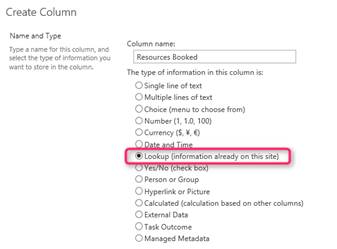
- Enter the Column Name.
“Resources Booked” - Select “Lookup (information already on this site)”
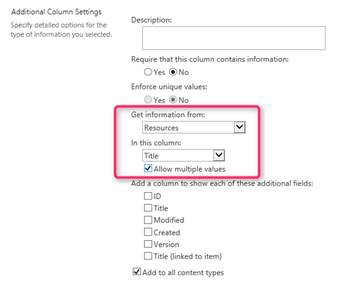
- Select to get information from “Resources”.
- Select the “Title” column.
- Check “Allow multiple values”.
- Click OK.
- Check the column:
– Go to the “Events” tab.
– Click on “New Event”.
– Make sure you can add the Resources.
Step 5: Save the new calendar as a resource calendar template
- Go to the “Calendar” tab.
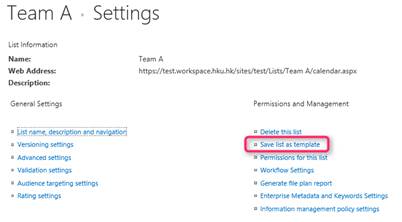
- Click on “List Settings”.
- Click on “Save list as template”.
- Fill out the fields.
– File name: ResourceCalendar
– Template name: ResourceCalendar - Click OK.
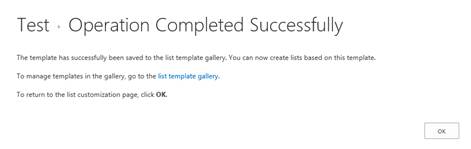
- Click OK to Operation Completed Successfully.

Step 6: Create a new resource calendar based on the template
You can create as many resource calendar as you like by repeating this step.
- Go to “Site Contents”.
- Click on “add an app”.
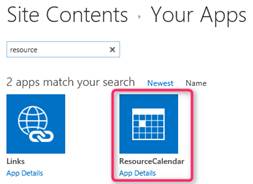
- Search for “Resource”.
- Click on “ResourceCalendar”.
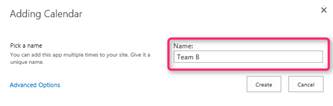
- Enter the Name.
Step 7: Add all calendars to Calendars in View
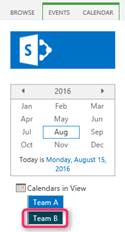
Add the calendar “Team B” to Calendars in View
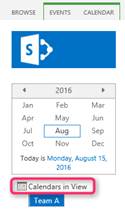
- Open the “Team A” calendar.
- Go to “Calendars in View”.
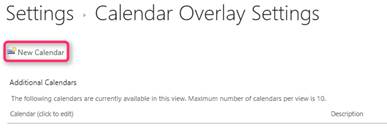
- Click on “New Calendar”.
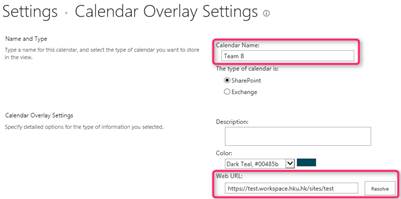
- Fill out the Calendar Name: Team B.
- Click on “Resolve”.
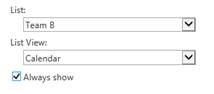
- Select “Team B” from the dropdown list.
- Select “Calendar” from the dropdown list.
- Check “Always show”.
- Click OK.
Step 8: Connect the resource calendars to Outlook
- Go to “Team B”.
- Click on the “Calendar” tab at the top.
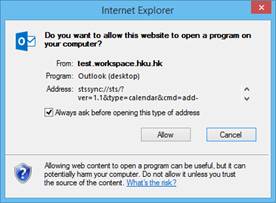
- Click on “Connect to Outlook”.
- Click “Allow” to the dialog box.
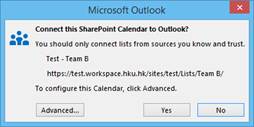
- Click “Yes” to the dialog box.
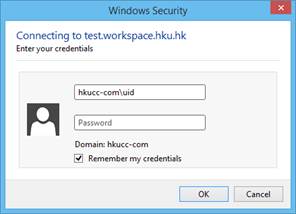
- Enter login name and password.
- Check “Remember my credentials”
- Click OK.
- Check the connection by making an appointment.

Step 9: Add the “Team A” calendar to the Quick Launch
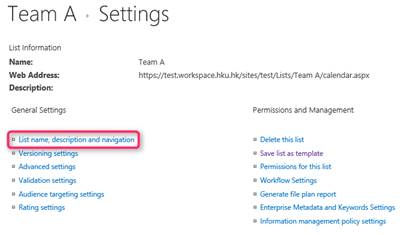
- Go to “Calendar’ tab.
- Click on the “List Settings”.
- Click on “List name, description and navigation”.
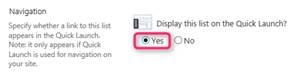
- Click “Yes” to the Quick Launch.
- Click Save.
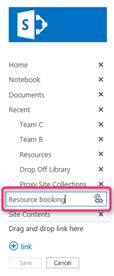
- In the Quick Launch, click “EDIT LINKS”.
- Edit the name of “Team A” calendar as appropriate.
- Click Save.