*uPrint supports printing from desktop PCs, notebook PCs and mobile devices within HKU campus network. For WiFi, please connect using “HKU” (“Wi-Fi.HK via HKU” and “eduroam” are NOT supported).
- Install Follow You Print Printer DriverDownload the uPrint Follow You Print Printer Driver hereUnzip the file and double click “public-uPrint.pkg”
- Go to System Perference > Privacy & Security to enable allowing applications from App Store & Known Developers.


- If the pops up asking for driver installation, click “Continue”.

- If the following pops up asking for installation, click “Install”.
 “Next”Import the Password and “install Software”

- The printer driver will be installed and configured automatically.


- After will deployed two PaperCut uPrint follow you print printer

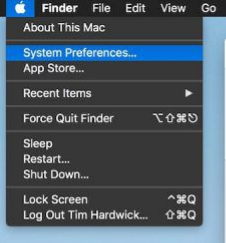
- Open System Settings from the Apple menu.
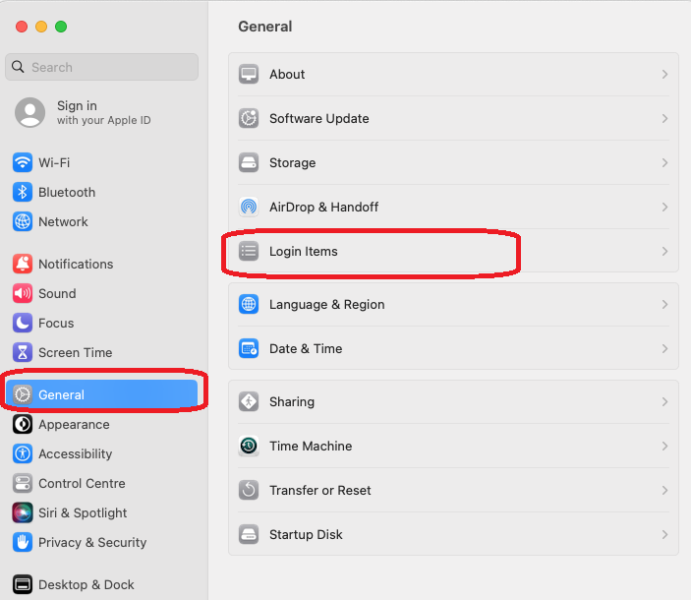
- Select General > Login Items.
- look for the Open at Login section
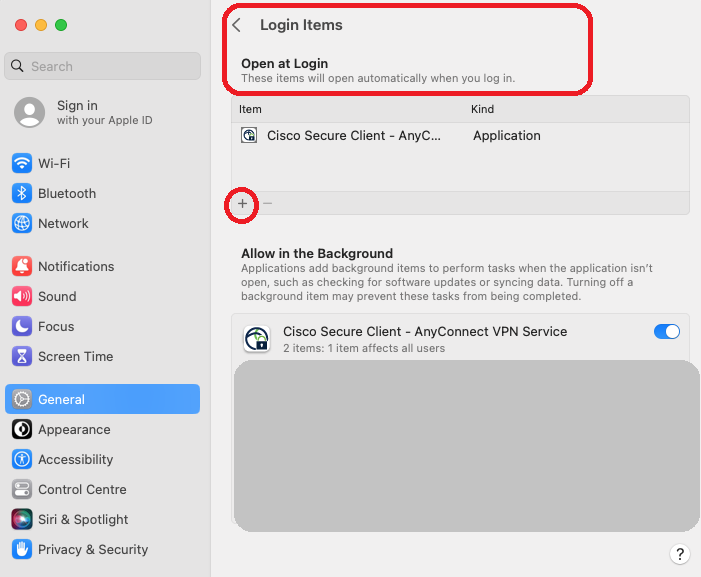
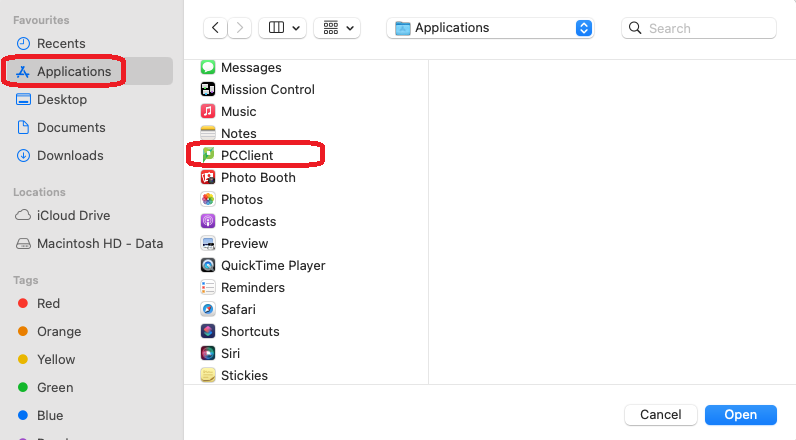
* Note that on older versions of macOS you may have to go into System Preferences > Accounts, then select your login name and finally select the Login Items - Click + then browse and select the PCClient application (which should now be under your local /Applications) => Open