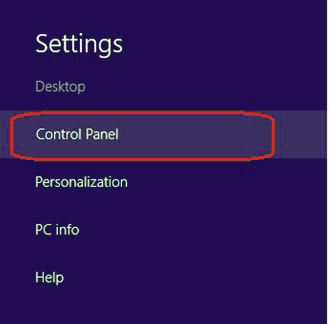
- Move the mouse cursor to the top right corner of the screen to reveal the Charms Menu. Click Settings.
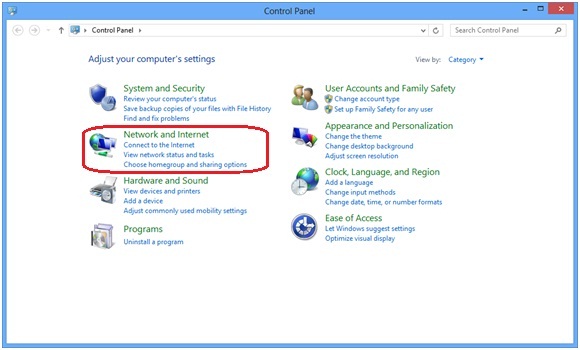
- Click Control Panel.
- Click Network and Internet.
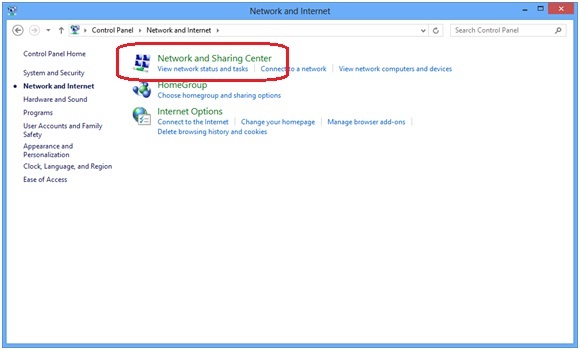
- Click Network and Sharing Center.
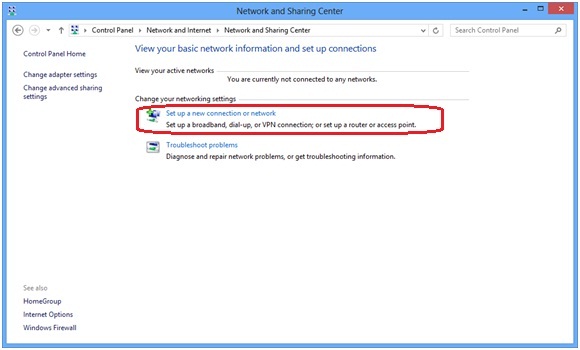
- Click Set up a new connection or network.
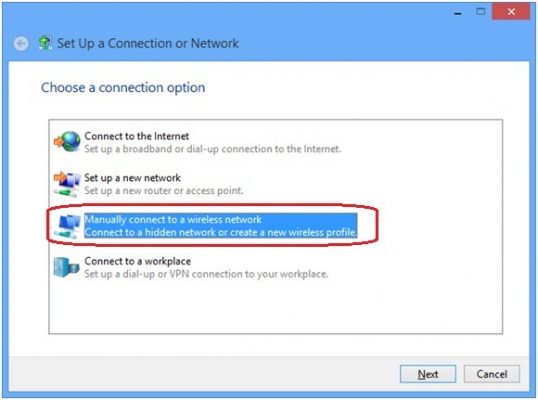
- Click Manually connect to a wireless network > Next.
- Type Network name, select Security type and Encryption type as follows:Type Universities via CSL in the Network name field (“Universities via CSL” is case-sensitive. Don’t just type all letters in lower case or upper case).
Select WPA2-Enterprise from the Security type drop-down menu.
Select AES from Encryption type drop-down menu.
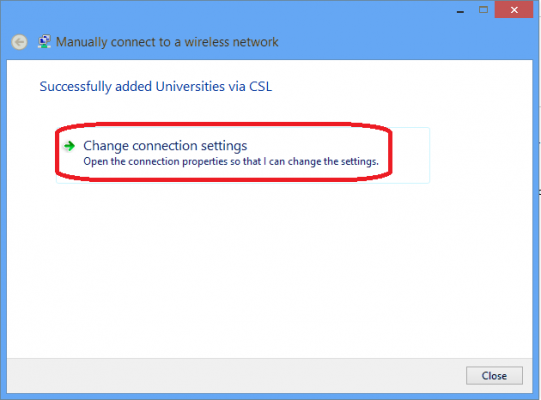
Click Next. - Click Change connection settings.
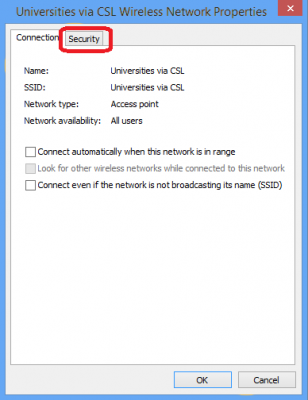
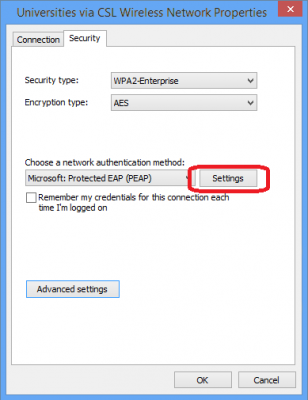
- Un-check all boxes under the Connection tab. Then click the Security tab.
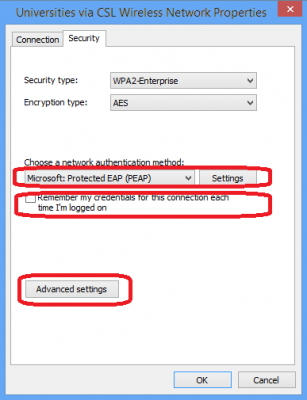
- Under the Security tab,Select Protected EAP (PEAP) from the Choose a network authentication method drop-down menu.
Un-check Remember my credentials for this connection each time I’m logged on.
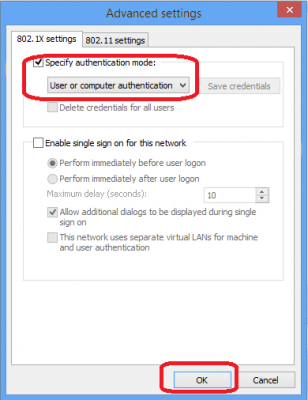
Click the button Advanced Settings. - In Advanced settings,Check Specify authentication mode.
Select User or computer authentication.
Click OK. - Back to the Security tab, click Settings.
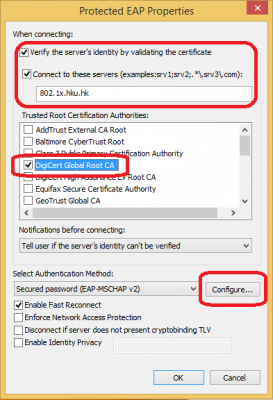
- In the Protected EAP Properties window,Check Verify the server’s identity by validating server certificate
Check Connect to these servers and type 802.1x.hku.hk
Check DigiCert Global Root CA
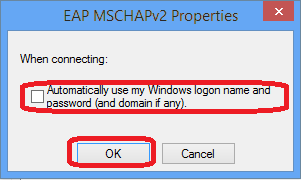
Select Tell user if the server’s identity can’t be verified under the “Notifications before connecting” drop down menu. Select Secured password (EAP-MSCHAP V2) from the “Select Authentication Method” drop down menu. Click Configure… - Un-check Automatically use my Windows login name and password (and domain if any) and click OK.
- Click OK twice to close the popup Window and click Close to finish.


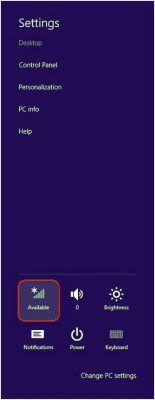
Move the mouse cursor to the top right corner of the screen to reveal the Charms Menu.
- Click Settings
- Click Available
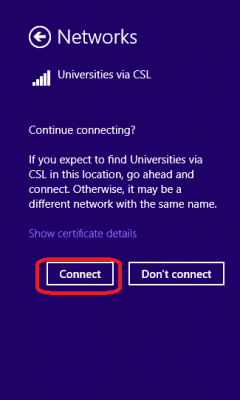
- Select Universities via CSL
- Click Connect
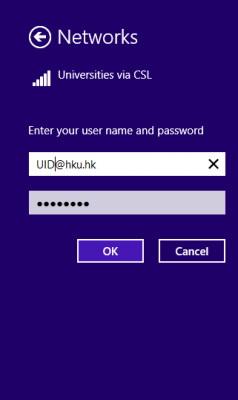
- For staff, please type in your username in the format of UID@hku.hk. For student, please type in your username in the format of UID@connect.hku.hk.Type in your HKU Portal PIN in the Password field.
Click OK to logon.