- Apply Protection to a File (Windows only, please refer to Point 3 below for PDF files
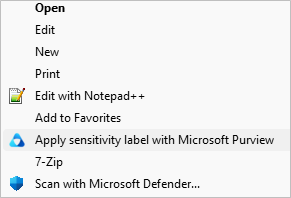
- Right click the target file and select “Apply sensitivity label with Microsoft Purview”.

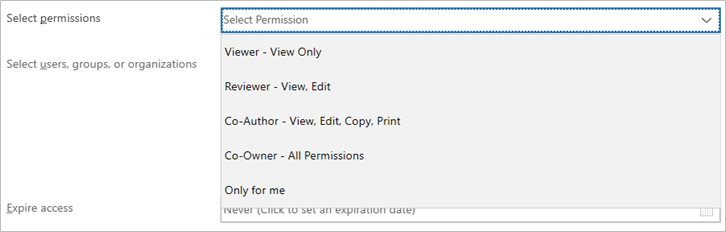
- The PIP Client will be opened. Check the box “Protect with custom permissions” and select the desired protection from the drop-down menu.
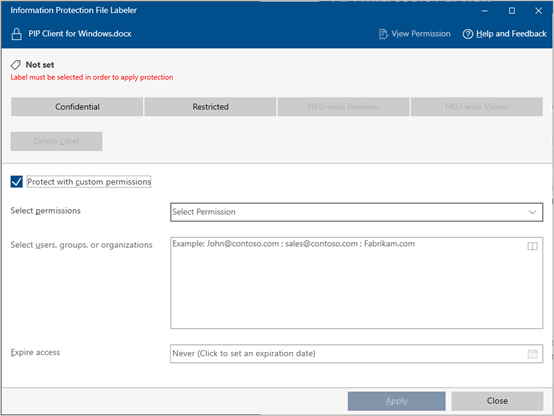
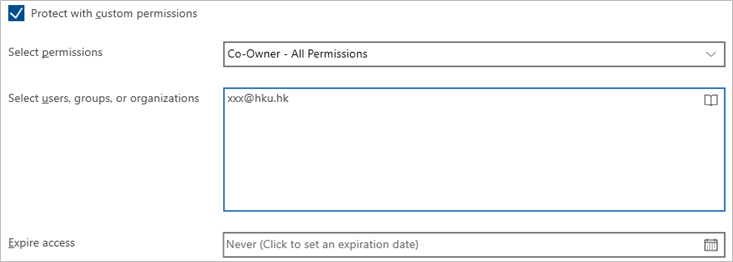
- Under “Select users, groups or organizations”, enter the recipients’ email addresses, email groups or click the icon
 to open the Global Address List to look up and select the recipients.
 - Optional: Under “Expire access”, enter the expiry date of the access right. Recipients cannot access the file after the expiry date.
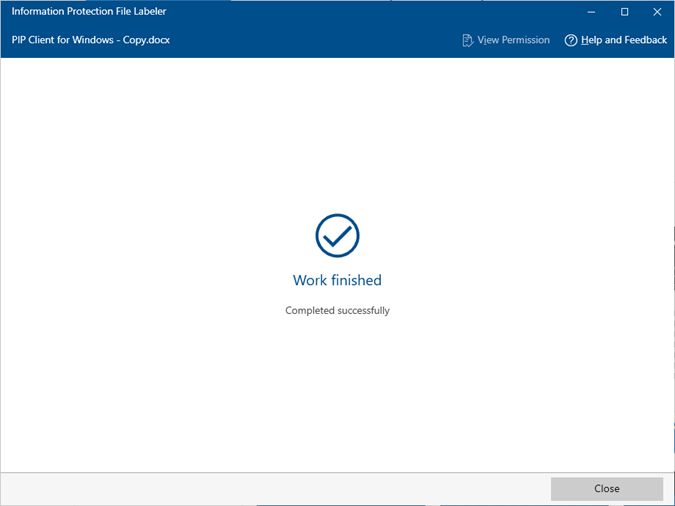
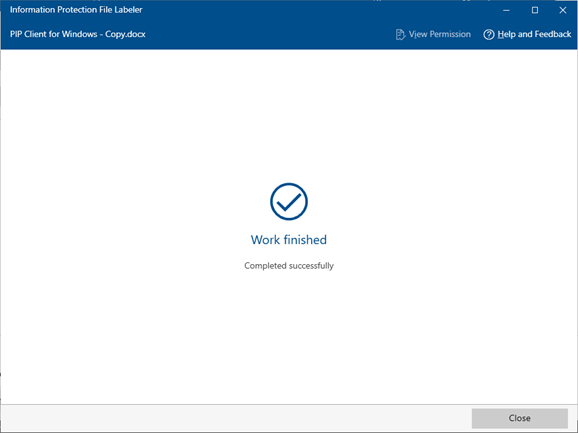
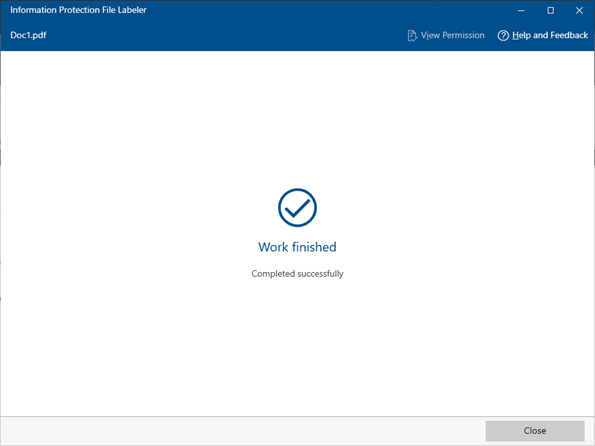
- Click “Apply” to confirm the protection setting.
- Click “Close” to exit the setting page.
- Right click the target file and select “Apply sensitivity label with Microsoft Purview”.
- Remove Protection from a File (Windows only, please refer to Point 4 below for PDF files)
- Right click the protected file and select “Apply sensitivity label with Microsoft Purview”.

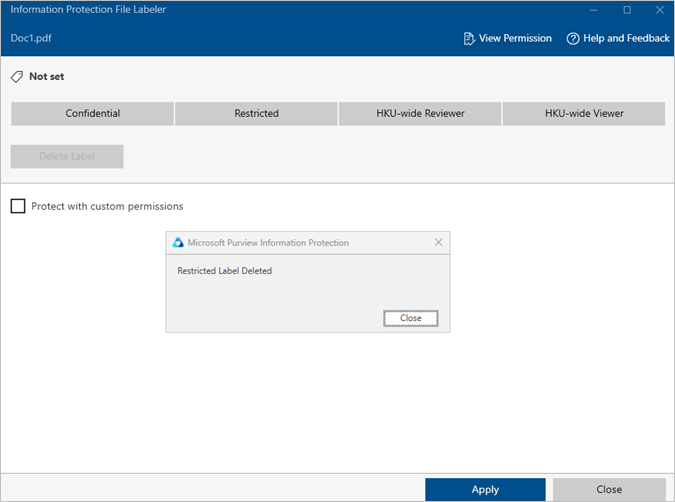
- The PIP Client will be opened. Select “Delete Label” and uncheck the box “Protect with custom permissions” and click “Apply”.
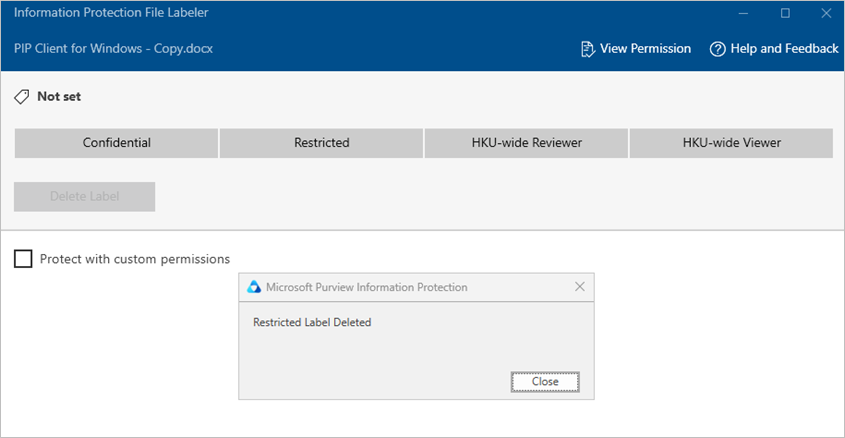
- Click “Close” to exit the setting page.
- Right click the protected file and select “Apply sensitivity label with Microsoft Purview”.
- Apply Protection to PDF Files (Windows Only)
- Right click the PDF file and select “Apply sensitivity label with Microsoft Purview”.

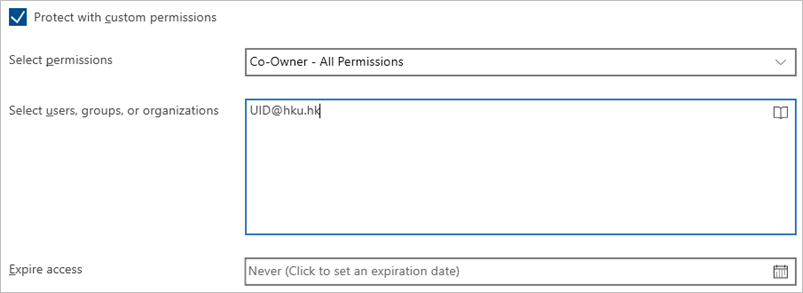
The PIP Client will be opened. Check the box “Protect with custom permissions” and select the desired protection from the drop-down menu.
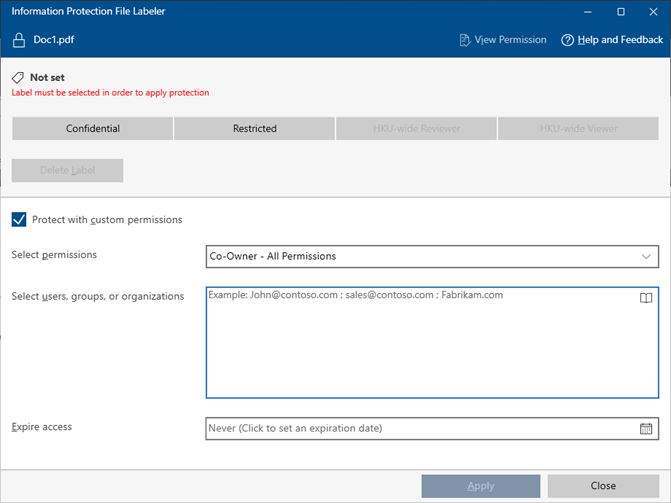
- Under “Select users, groups or organizations”, enter the recipients’ email addresses, email groups or click the icon to open the Global Address List to look up and select the recipients.
- Optional: Under “Expire access”, enter the expiry date of the access right. Recipients cannot access the file after the expiry date.
- Click “Apply” to confirm the protection setting.
- Click “Close” to exit the setting page.
- Right click the PDF file and select “Apply sensitivity label with Microsoft Purview”.
- Remove Protection from PDF Files (Windows Only)
- Right click the protected PDF file and t “Apply sensitivity label with Microsoft Purview”.
- The AIP Client will be opened. Uncheck the box “Protect with custom permissions” and click “Apply”.
- Click “Close” to exit the setting page.

- Right click the protected PDF file and t “Apply sensitivity label with Microsoft Purview”.
- Install Adobe Acrobat Reader Plug-in to Open Protected PDF Files (Windows and Mac OS)
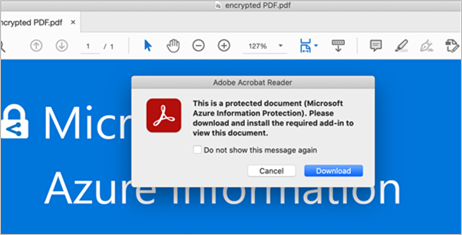
- To open protected PDF files, please download the Microsoft Information Protection (MIP) plug-in for Adobe Acrobat ReaderIf you open a protected PDF file without plug-in, you will see the following alert message:
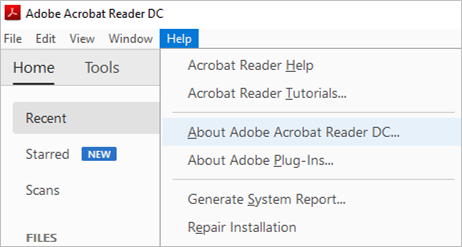
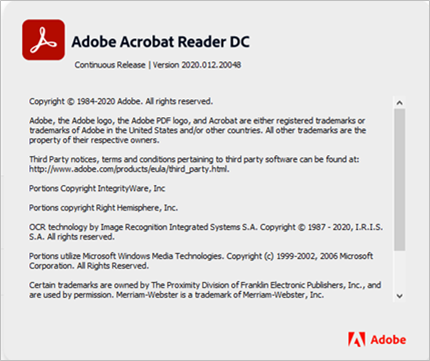
- Check the version of your Adobe Acrobat Reader by clicking Help > About Adobe Acrobat Reader DC… .
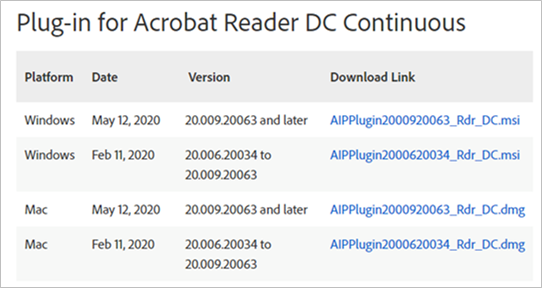
- Download the appropriate version of the plug-in.
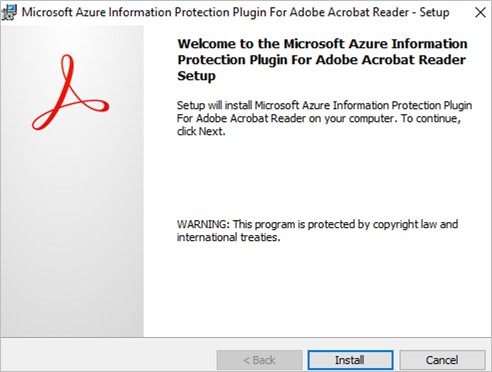
- Run the downloaded file to install the plug-in. Click “Finish” after the setup is completed.
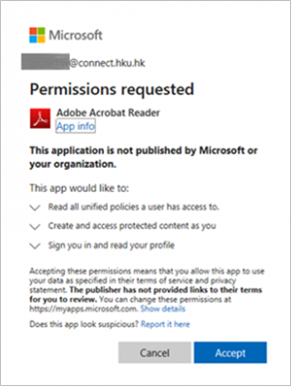
- After installing the plug-in, you will be prompted to enter your email address that is granted with the right to open the file, complete the authentication steps required and click “Accept” to accept the permission.Note: Acrobat Reader only support .PDF file. For previously protected PDF files (.PPDF), please use the PIP viewer (for Windows) or RMS client (for Mac).

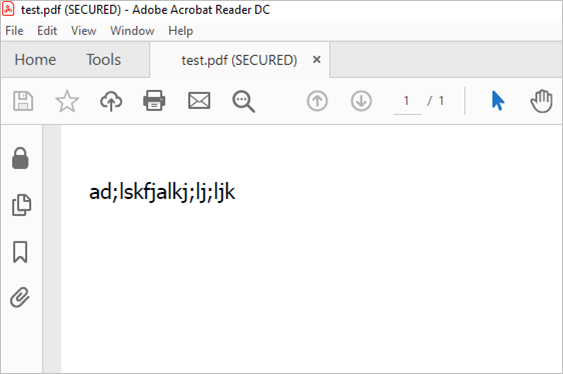
- The protected PDF file will be opened and labelled with (SECURED).
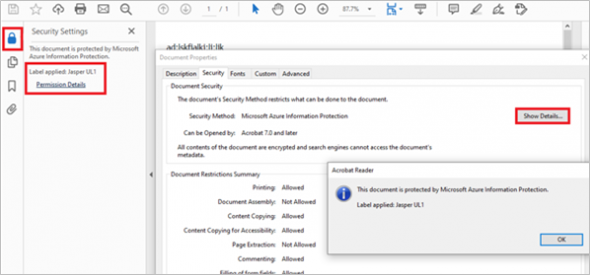
- To check the label details, you can click the following icon and link:
- To open protected PDF files, please download the Microsoft Information Protection (MIP) plug-in for Adobe Acrobat ReaderIf you open a protected PDF file without plug-in, you will see the following alert message:
- Open PPDF File from PIP Client
- Right click the PPDF file and select “Open”.
- The content will be displayed inside the AIP Client.
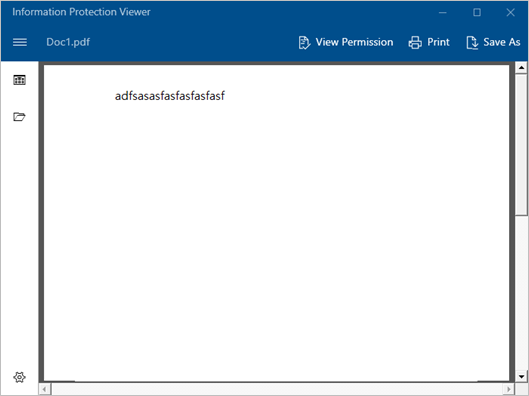
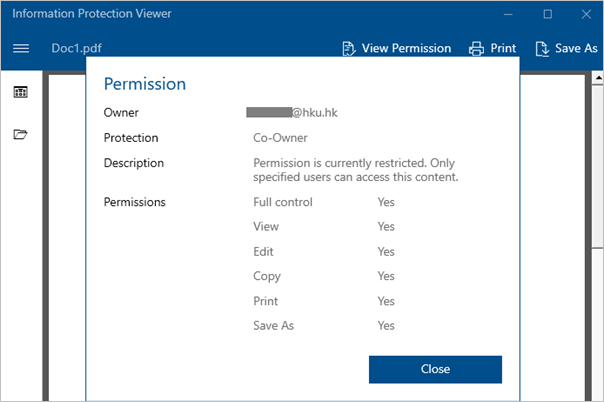
- You can click the “View Permission” button to check the protection details.
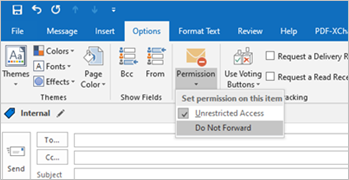
- Apply Protection to an Email Using Microsoft Outlook 2013 or Above (Do Not Forward)
- Under the compose email window, select “Option” > “Permission” > “Do Not Forward”.
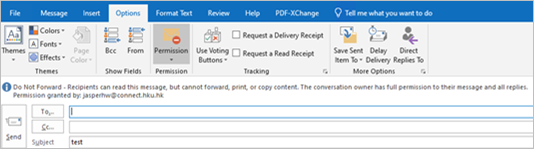
- An alert on “Do Not Forward” will be displayed at top of the email.
- To remove “Do Not Forward”, select “Option” > “Permission” > “Do Not Forward” again.
- Under the compose email window, select “Option” > “Permission” > “Do Not Forward”.